Email templates basics
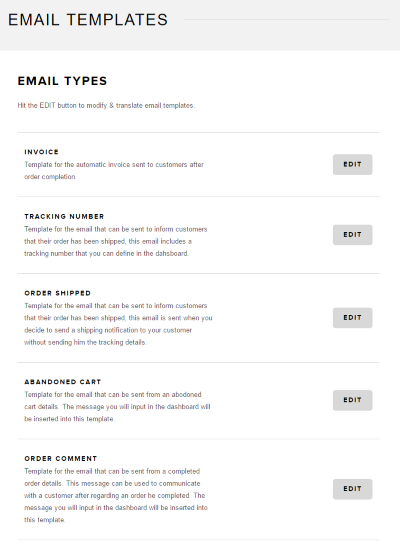
Snipcart can send different types of emails to customers:
- Invoices
- Abandoned carts retrieval
- Shipping notifications
- Order status change
- Refunds
With the email editor embedded in your dashboard, you can customize email templates used for each of these.
Note that email customization within Snipcart requires programming knowledge.
How Snipcart email templates work
To set up our email editor, we used a port of the popular Handlebars.js templating engine. Consider reading their documentation to grasp the basics.
On top of this, we added custom helpers that will come in handy when formatting variables such as money amount, dates, and more.
How to customize an email template
To customize a template, log into your Snipcart dashboard under Account → Email settings and templates.
Locate the template you want to customize and hit the Edit button.
A template editor will appear:
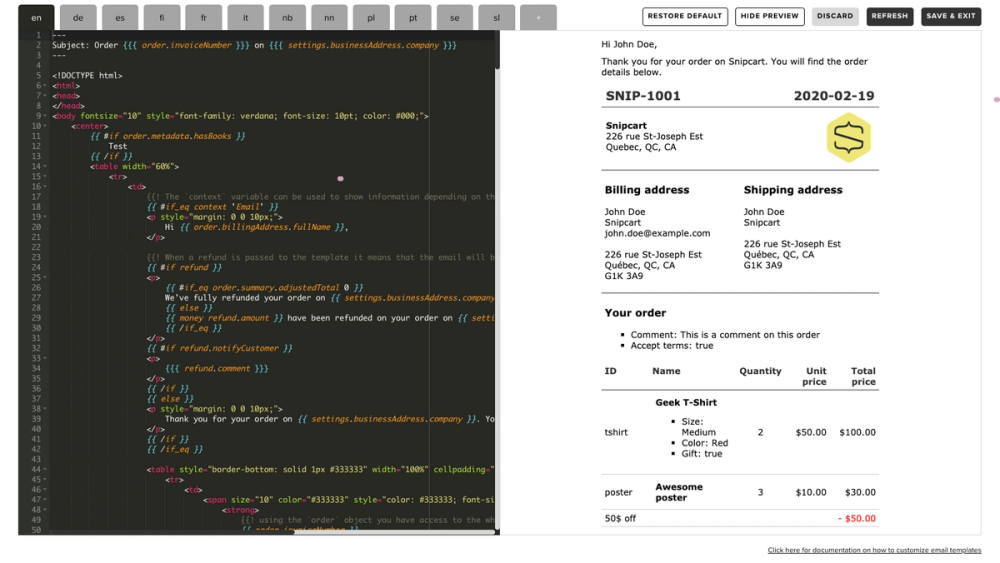
In the left panel, you can customize your template using Handlebars' templating engine. If you hit CTRL+S, CMD+S or hit the refresh preview button (next to Save & Exit), the live preview in the right panel will update automatically. Once you're happy with the result, hit the Save & Exit button.
Email templates are rendered with dummy data by default. This allows you to get a better idea of everything you can do with them. Some of this data may be conditional. For instance, in recovery campaigns, dummy discounts in the templates won't be displayed in the final email if you don't attach actual discounts to your campaign.
At any time, you can also hit the Restore default button. This will load the default template. If you click it by mistake, you can always hit the Discard button. This will ignore changes and close the editor.
You can add a new language by hitting the tab with a + sign. You will be prompted to enter an ISO 639-1 code. This is a two-letter code representing a language. For instance, English is en.
How to define the email subject
When customizing your template, you can also define the subject of the email sent to your customers. You can add some metadata to the template using some YAML-like syntax. To enable it, you'll need to add a block wrapped by --- in the top of your template. Here is an example:
---
Subject: This is my subject {{ variable }}
---

This is the beginning of the template content.
You can use Handlebars variables and functions if needed. For instance, if you want to have a subject that changes depending on a specific condition, you could do something like this:
---
{{ #if condition }}
  Subject: My subject
{{ else }}
  Subject: My other subject
{{ /if }}
---