Account configuration
You can access this area by clicking on the user icon at the top right corner of the screen.
Sections in this area will allow you to configure account settings like profile, API keys, billing, and users.
1. Profile
Before using Snipcart in Live mode, you'll need to define your business information here.
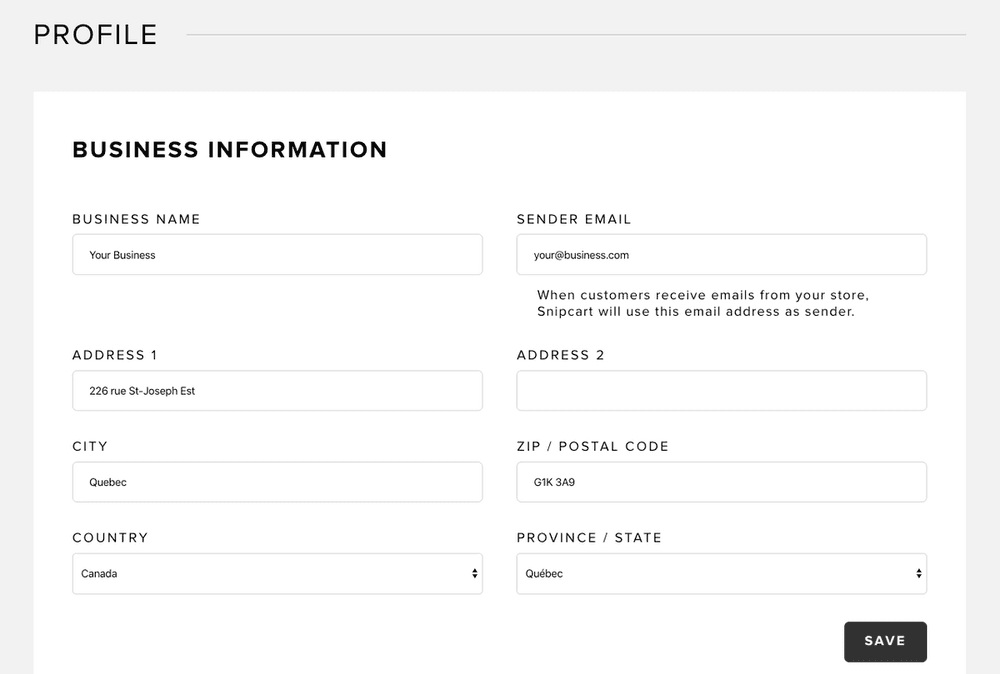
The information entered here will be displayed on the order invoices sent to customers.
1.1 Import settings from Test mode
Under Account → Profile, in Live mode, you can import settings from Test mode.
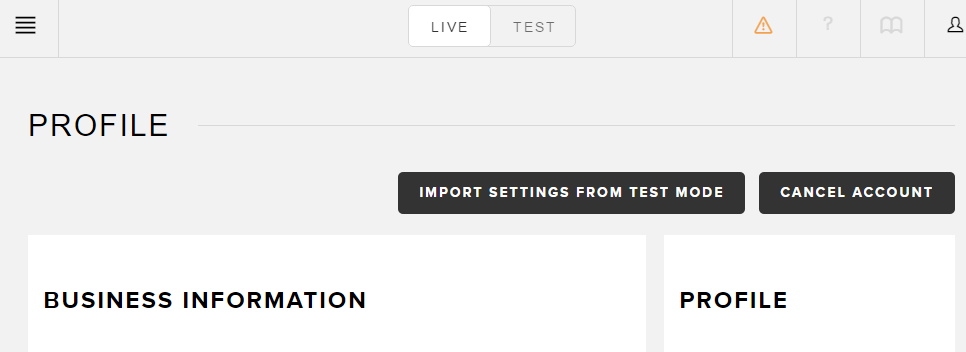
Once you're ready to go Live, you'd toggle the Live mode using the button in the header of the dashboard and copy your Live API key on your website. Then, you'd have to go through all the settings and enter them again.
To save time, you can use the Import settings from Test mode button to import each setting defined in Test mode to your Live mode. Be careful, it may override your actual Live settings..
2. Users
This section lets you add users to your Snipcart account. It also allows you to change transfer the ownership of your Snipcart account to an existing user.
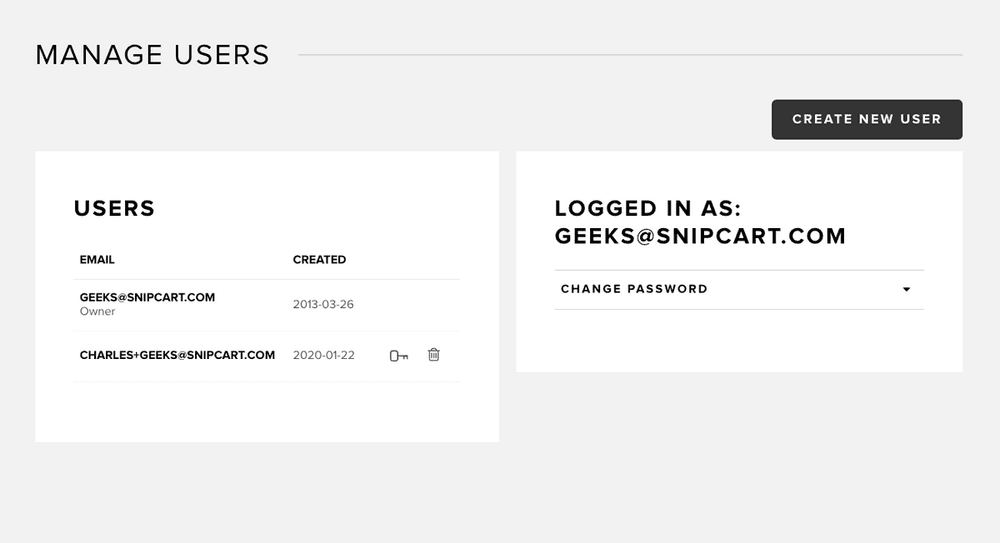
To add users to your account, hit the Create new user button.
To change your own password, hit the Change password button.
By default, the Owner is the email address that created your Snipcart account in the first place.
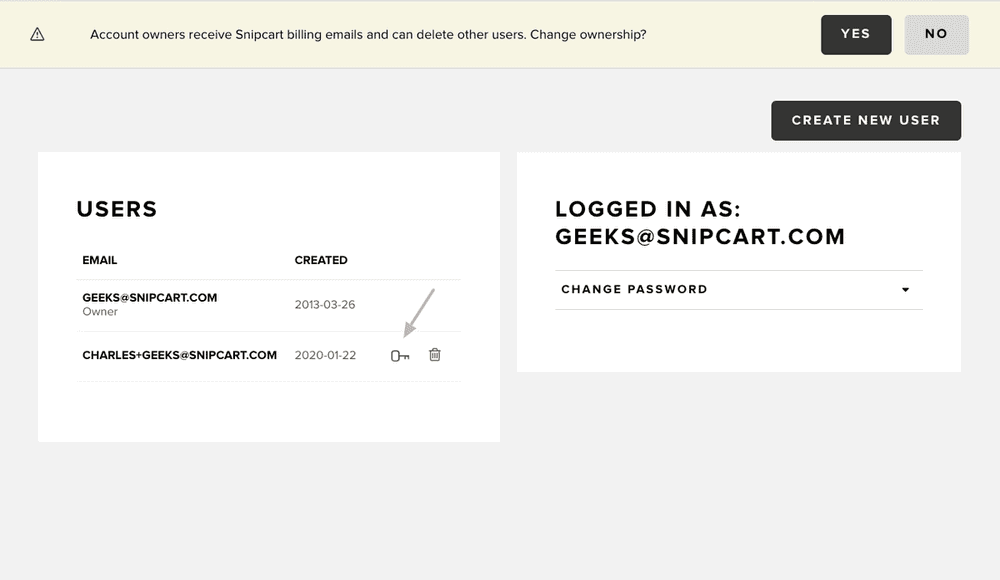
The Owner receives Snipcart billing emails (fees paid to use the service) and can delete other users in the account. To change the owner, click on the key next to an existing user.
3. API keys
This section is used to manage both your public and secret API keys.
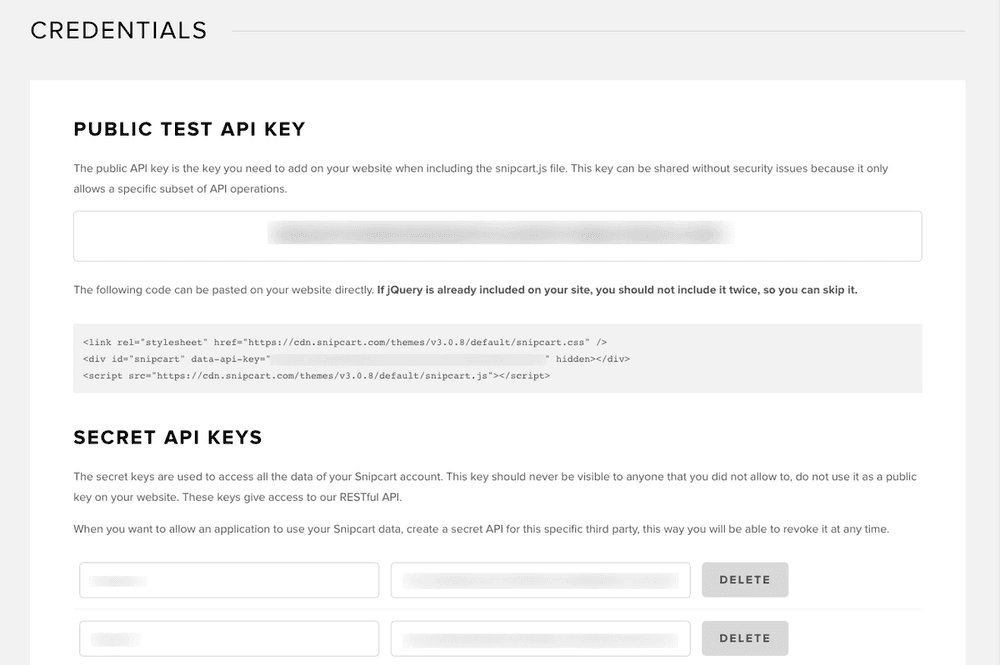
Public API key
Whether you're in Test or Live mode, this is where you'll find your API key. It's already included in the code snippet you need to inject on your website to integrate Snipcart. Please see the Live/Test environments section for important details.
Secret API keys
Secret API keys are used to access all of your Snipcart account data. They should never be accessible nor visible to anyone without proper authorization. Do not use them for your website's public key.
These secret keys give access to our REST API. When you want to allow an application to use your Snipcart data, create a secret API key for this specific third party. You will be able to revoke this access at any time afterward.
4. Billing payments
This section lets you manage billing details for your Snipcart account.
It displays the pricing plan you're on, your next billing date, and the upcoming payment amount.
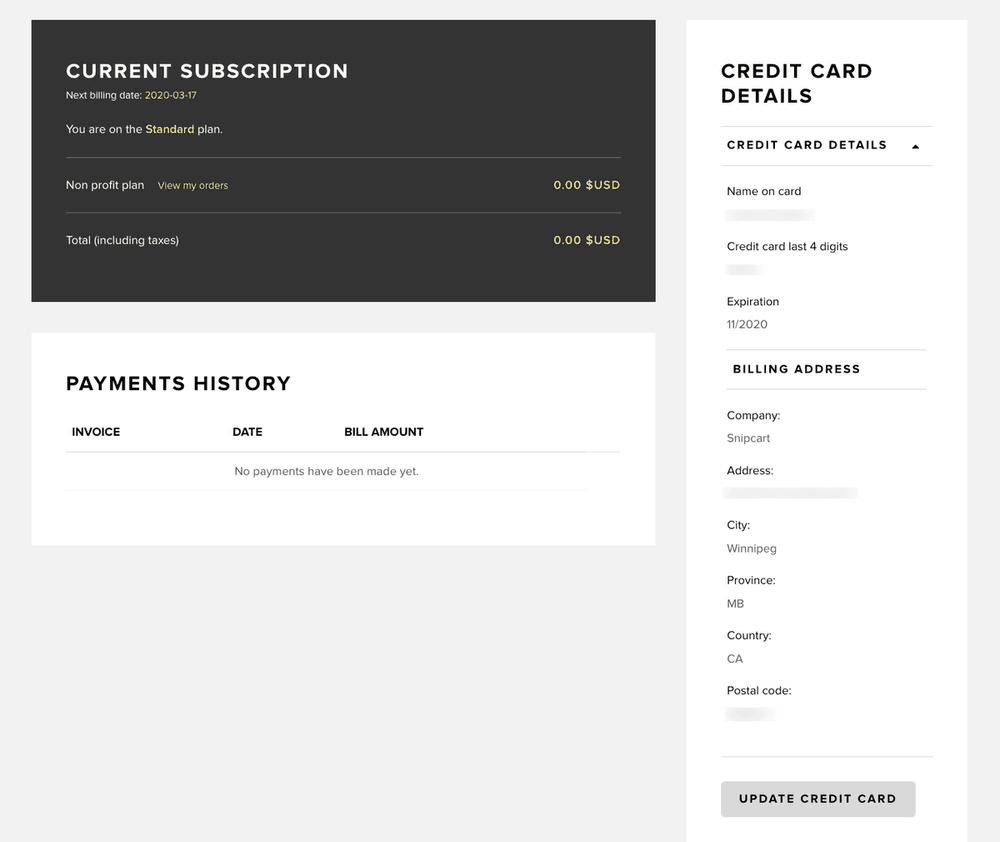
This section also allows you to enter required payment information (credit card) details for your Snipcart account. Before connecting a payment gateway to your store, you'll have to enter this information.
If your credit card is expired, or you wish to use a new one, hit the Update credit card button.
A history of your previous Snipcart payments is also available here.
5. Developer logs
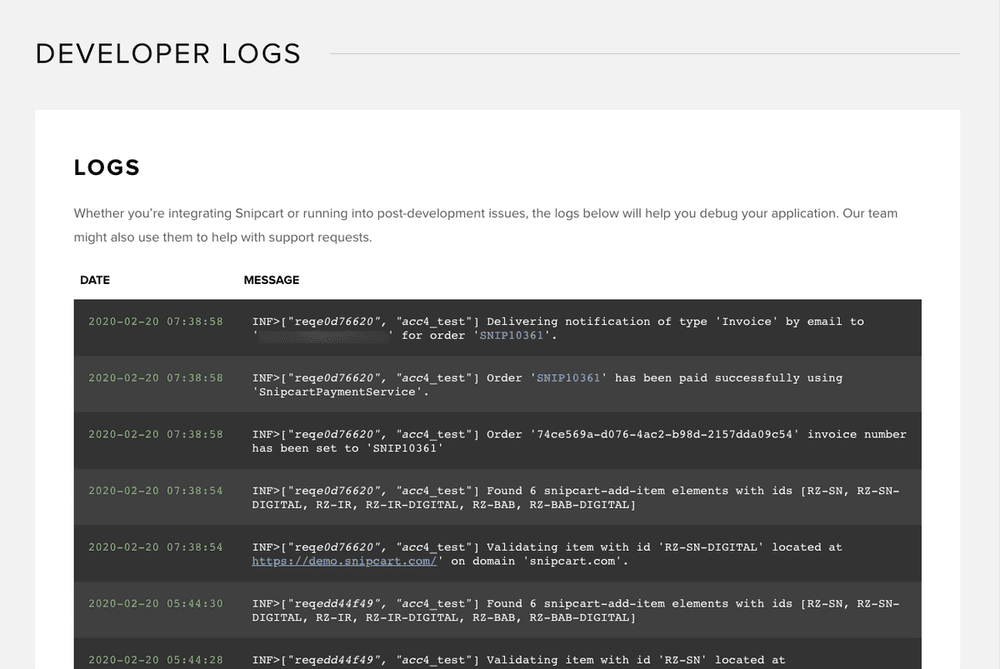
Whether you’re integrating Snipcart or running into post-development issues, the logs in this section will help you debug your application. Our team might also use them to help with support requests.